How to use the Online Designer
Using Our In-Browser Designer To Make Banners on Banners.com
If you want to design a banner online, you can use our new online designer. We have created templates in all kinds of categories - Holidays, Sports, Political, Real Estate, Schools, and much more! Or, you can create your own banner using a blank template. Once you are in the designer, you can browse backgrounds, add clip art and add text. You can also upload your own logos and photographs. Just drag, drop, copy, and paste right in your browser window.
Designing Online
To get into the online designer you will either need to select a "Blank Template" or click on a template to customize from the product page. Once you get into the online designer you will see the buttons to Add Text, Add Clipart, Upload Images, and Add Backgrounds.
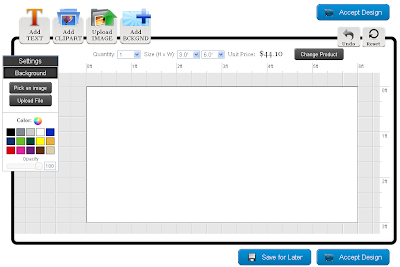
Online Designer Blank Template
Adding a Background
To add a background select the "Add BCKGND" button at the top of the screen.
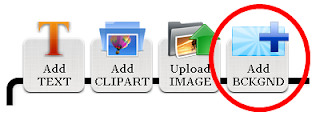
Add Background Button
A screen will pop up where you will be able to browse by different categories of backgrounds.
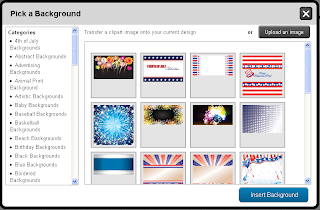
Pick a Background
 Click on a background category to see the images in that category. Click on a background you want and click the "Insert Background" button and it will be added to your design.
If you want to change the background, you can repeat the process. You can also click on the "Remove Background Image" button on the left sidebar. You can also upload your own background image by clicking on the "Upload File" button.
If you just want a solid color for a background you can select a color from the color menu on the left sidebar.
Adding Text
To add text, select the "Add TEXT" button at the top of the screen.
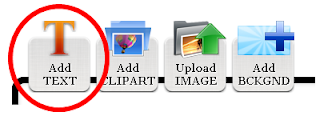
Add Text Button
 After you have clicked the button, a text box will open on the screen that says "Double click to edit". You can either double-click the text or select the text box on the side. Once you have added your text, you can make the text larger or smaller by moving the red box on the screen. You can change the font by using the drop-down menu on the left side of the screen. You can change the color by selecting a color from the left sidebar.
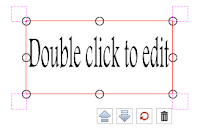
Double-Click to Edit Text Box
Add Clipart
To add clipart, select the "Add CLIPART" button at the top of the screen.
Add Clipart Button
Once you click the button, a window will pop onto the screen where you will be able to browse through the clip art categories. Click on a clip art category to view the images in that category. Click on a clip art image to add it to your design.
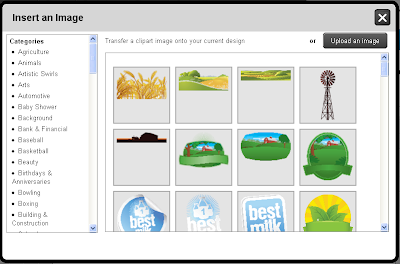
Insert Clipart Screen
When the clip art is in the designer, it will have a red box with eight circles around the image. You can re-size the clipart by selecting one of the eight circles and moving your mouse. If you click "Ctrl" and move the mouse, the image will maintain its proportions. You can also move the image to the front or to the back by clicking on the up arrow or the down arrow. The red circle will revert your image to its original size and shape. The trash can will delete the image. You will be able to move the clip art by selecting it and moving it to the desired location, or you can use the arrows on your keyboard.
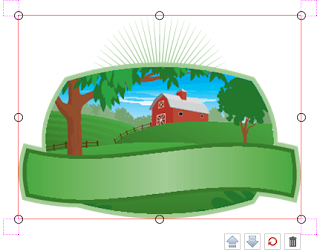
Clip Art in the Online Designer
Upload Image
To upload your own image, select the "Upload IMAGE" button at the top of the screen. Once you click the button, a window will pop up where you can select your desired files from your own computer. Files should not be larger than 100 MB.
Upload Image Button
Placing your Order
Once your design is done, click on the blue "Accept Design" button on the top of the page or the bottom of the page. After you select the button you will be taken to the product options page where you can select the finishing options.
Get started on your very own banner design on our vinyl banners or fabric banners pages!